If you’re starting a business (or even just doing a few projects on the side), you must use a billing/invoicing/accounting system to track income and expenses. A spreadsheet isn’t terrible, but come tax time you’ll need reports. Creatives: do NOT try to use design software to make fancy invoices. There’s no way to track these, and you’ll end up with a nightmare.
- In the early days of cyclone press I used an invoicing software (without real accounting features).
- Then I used Xero for a bit, which is an up-and-coming cloud option.
- After switching to a new accountant (with special software pricing) I broke down and switched to Quickbooks Online, something I swore I’d never do. While there were a few nice things, it was overall as terrible as expected, particularly in the recurring invoice department (practically nonexistent).
- 2 years ago I switched to Wave and have no regrets whatsoever.
Wave is now the billing software I recommend to all my clients, and the best part is that it’s totally free. I want to quickly outline why I like it, then give you a walkthrough of how to set up a new Wave account.
Wave Accounting Pros
- Wave is clean, simple, and incredibly user-friendly. It does what it needs to do, beautifully.
- Recurring invoices are a dream. Easy to set up, and more importantly, easy for clients to pay. They can choose to save credit card info for automatic payment.
- Online payment setup is practically instant.
- Reconciliation is unbelievably easy.
- It’s easy to add and switch between multiple businesses.
- Zapier integration.
- If you need payroll, you can add it (although that service isn’t free).
- It’s easy to add users (bookkeepers, tax preparers etc.)
Wave Accounting Cons
- My biggest complaint is that there’s no way to add credits to a client accounts. I use renamed invoices with positive amounts instead, but it’s an annoying workaround.
- Products are not searchable.
- I’d like to see more Zapier options.
- No time tracking. I don’t actually see this as a con: I’ve never used this as part of an invoicing system and I think it should be separate anyway, but just FYI. I use Timecamp for the bulk of my time tracking.
- Ads. HR Block bought Wave in 2019 so they’re obviously going to give themselves ad space, and because the product is free they’re trying to make money somewhere. You might click on a tab to discover it’s a partnership with another B2B product. As long as they maintain Wave this doesn’t bother me.
- No downloadable app (I despise in-browser apps). There are ways to run cloud apps as a standalone app on your desktop (on Mac) which is what I do.
- No way to digitally accept estimates.
- Because it’s free, updates are infrequent.
I feel like I should clarify the fact that all of my cons are just nice-to-have features, not actual needs. The top two are really the only things I’d like to see updates for, but I can’t be truly picky because again, Wave is totally free.
getting started with Wave Apps accounting software
Here's a quick how-to process to get your small business up and running with Wave. At the end of this tutorial, you'll be able to send invoices and receive online payment.
I'm no accountant, so none of this is legal/tax advice, but I do work with soloproneurs and startups to establish processes and set up software. If you need help getting set up with a business email address, branding or a website, get in touch.
Time Needed: 45 minutes
Cost
You'll need:
Required tools:
How to set up a Wave Apps account
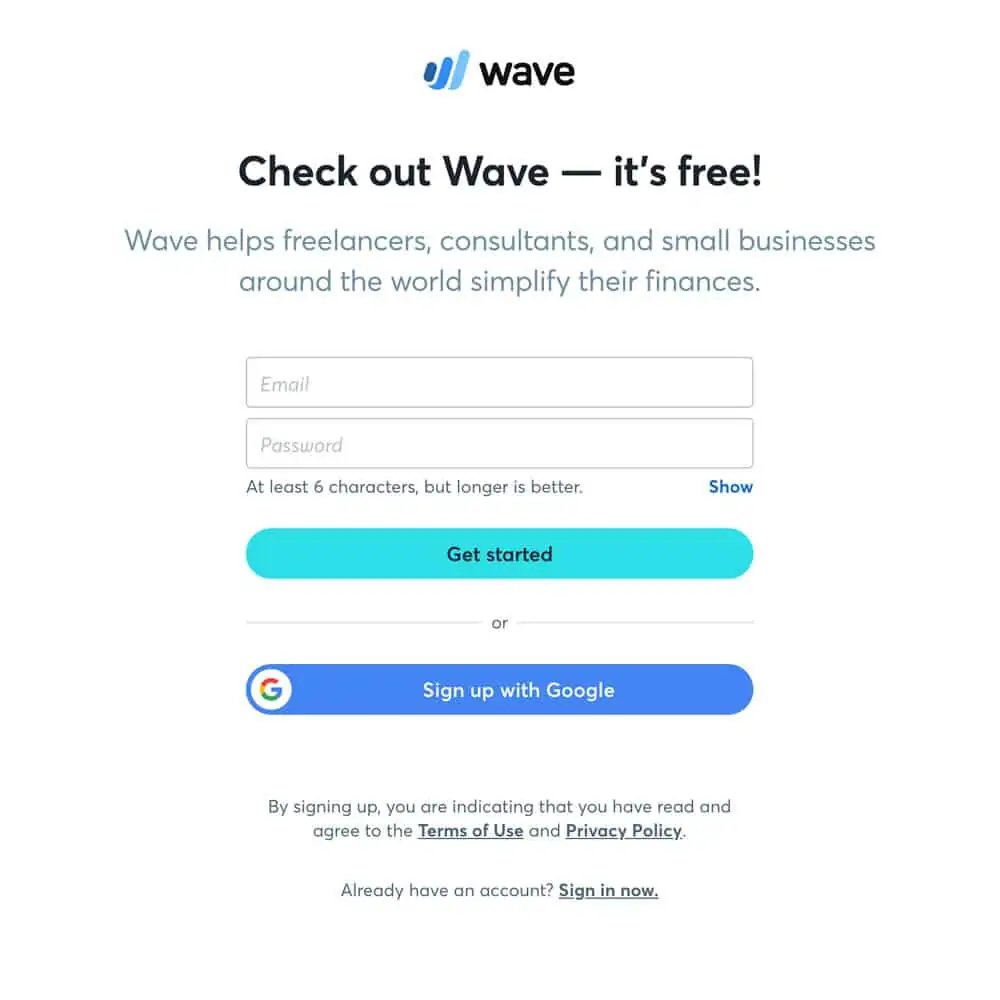
Click the link above to open the Wave registration page in a new tab and follow along. You’ll want to sign up with your work email and a strong password (or log in with Google).
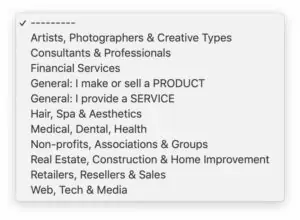
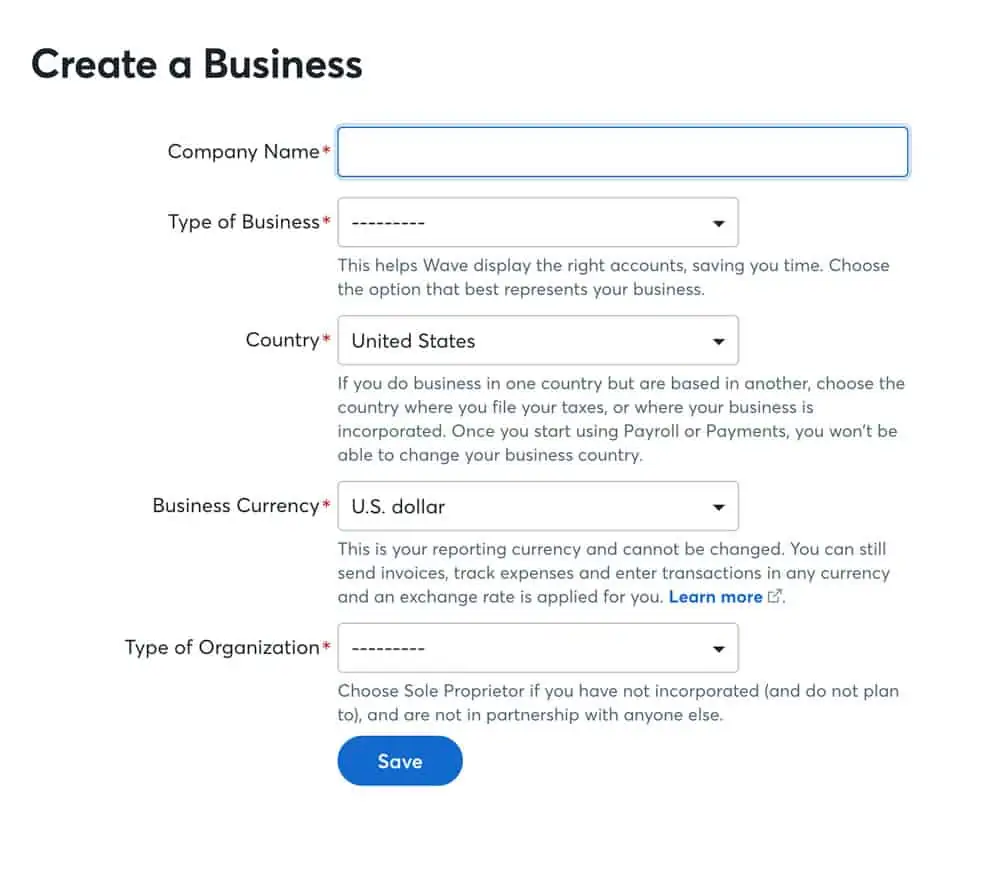
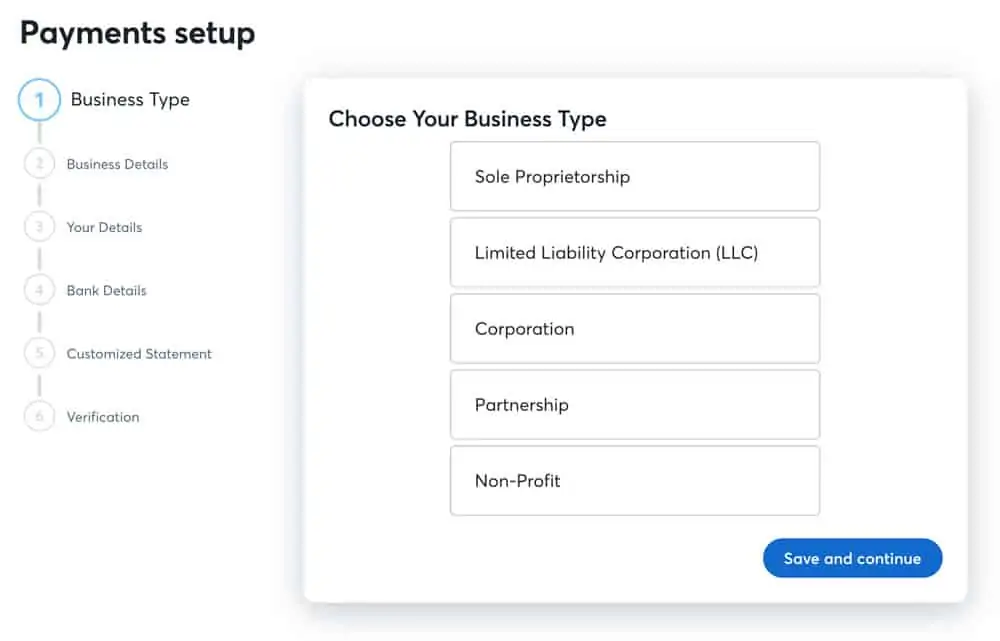
Follow the prompts to add the information for your business. Available business types are listed below.
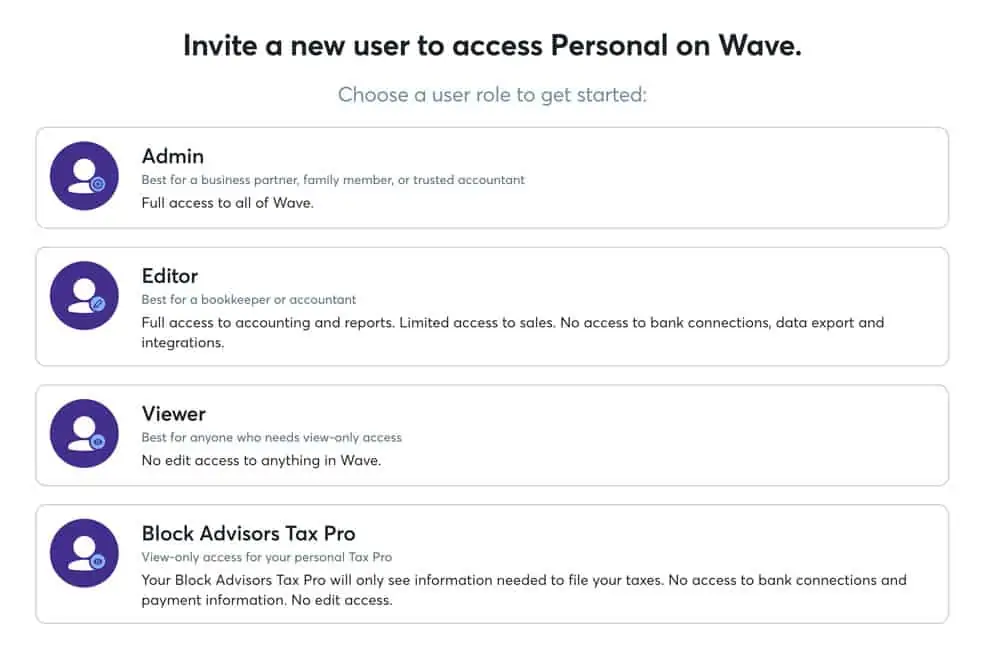
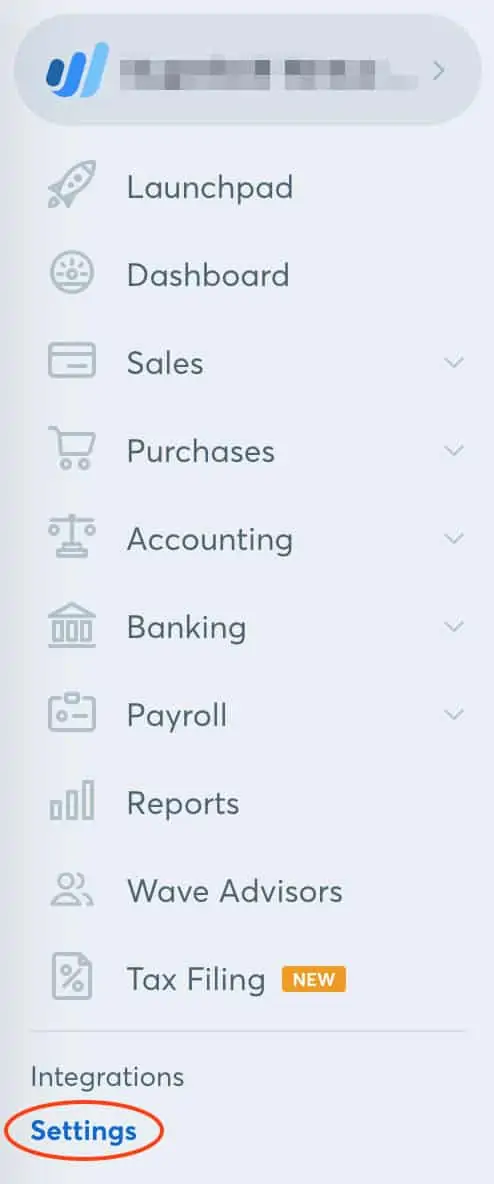
Chances are you’ll need to add another user to your account. You’ll find the option to invite users under ‘Settings’ in the sidebar, then ‘Users.’ There are currently 5 types of access level. Choose the appropriate level, then add your new user’s information. They’ll receive an invitation to join your account via email.
Under Settings, go to ‘Invoice Customization’. There are 3 invoice templates, an option to upload your logo and choose an accent color. While this doesn’t sound like much, the “Contemporary” template is well-designed so you don’t need to do much. Use a medium resolution PNG (with a transparent background) for your logo.
Now scroll down to customize your invoice terms, payment settings, and adjust units to your business. Make sure to ‘Save all changes.’
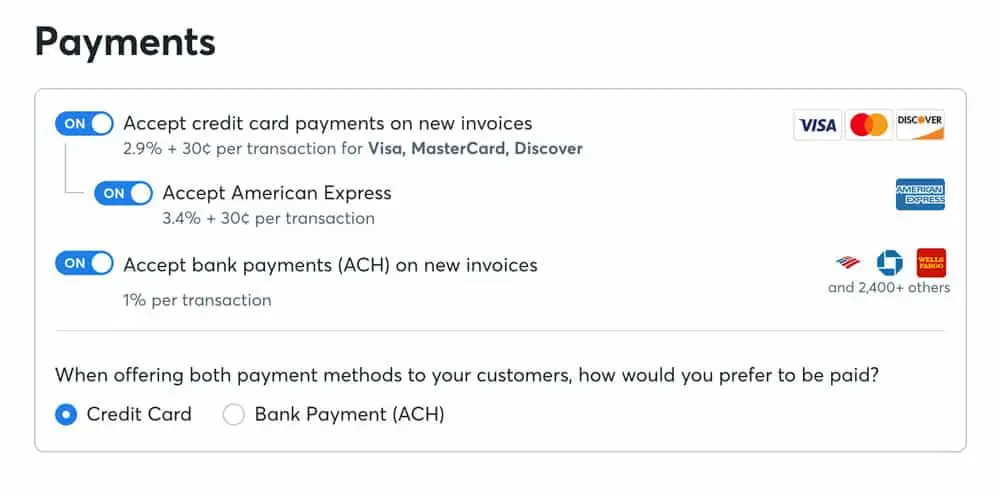
Wave has their own payment processing system that makes it incredibly easy to accept online payments. Toggle these on and off as needed.
Under Settings > Accounting, click ‘Sales Taxes’ add your sales tax rate, if needed.
Under Settings > Banking, click ‘Payouts’ and follow the prompts to add the bank account that online payments will deposit into.
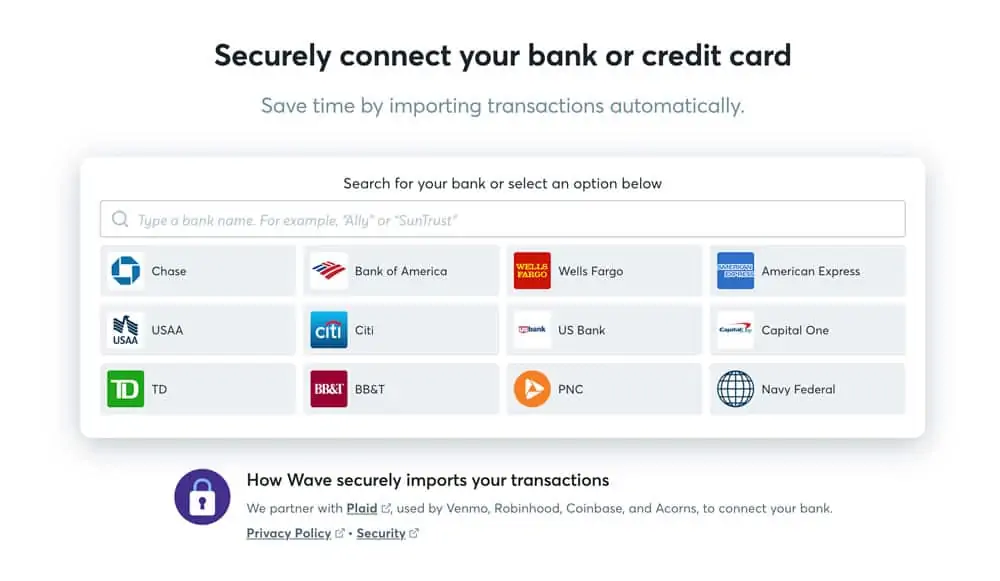
Once your account is set up, look for the ‘Banking’ tab on the sidebar, then click ‘Connected Accounts’ to add your business bank account. Start typing to search for your bank, then select it and log in with your online banking credentials.
Important note: always separate your personal and business expenses. Go set up a business bank account and use it for all business purchases and payments. Do not use your personal bank account for anything business related. This is rule number 1.
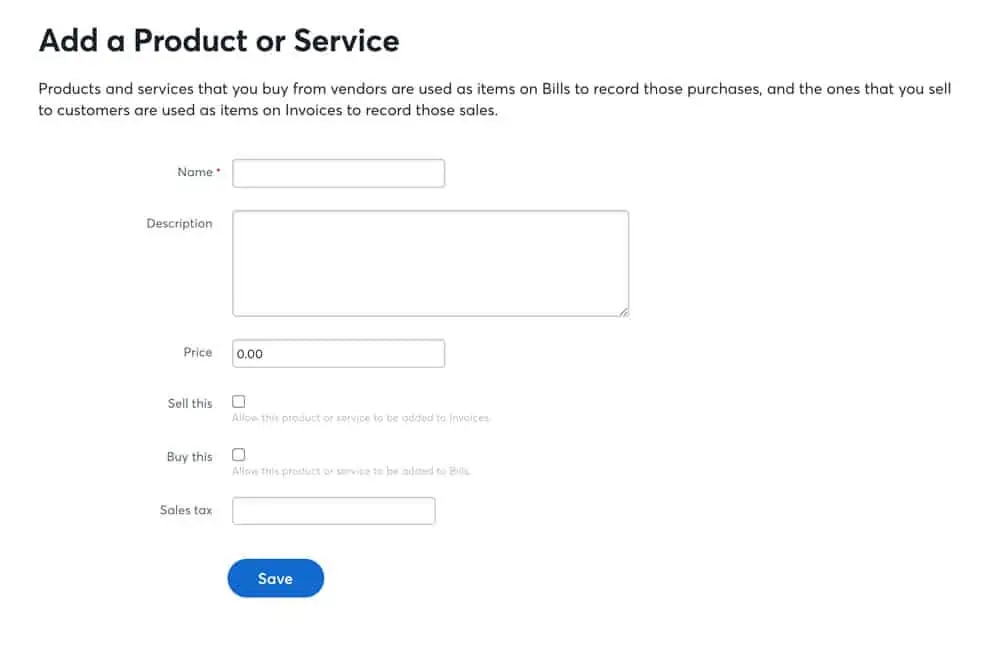
If you charge an hourly rate or have a flagship product, you’ll want to add those under Sales > Products & Services. Make sure you’re choosing the correct income account when you set these up. When you select ‘Sell this,” it will give you the default option to add it to the ‘Sales’ income account.
To better track different income streams you’ll probably want to add additional accounts, which you can do under Accounting > Chart of Accounts. For example: the bulk of what we do at cyclone press is web design, development & hosting, but we also sell business cards and other printed products, which I track under a separate income account.
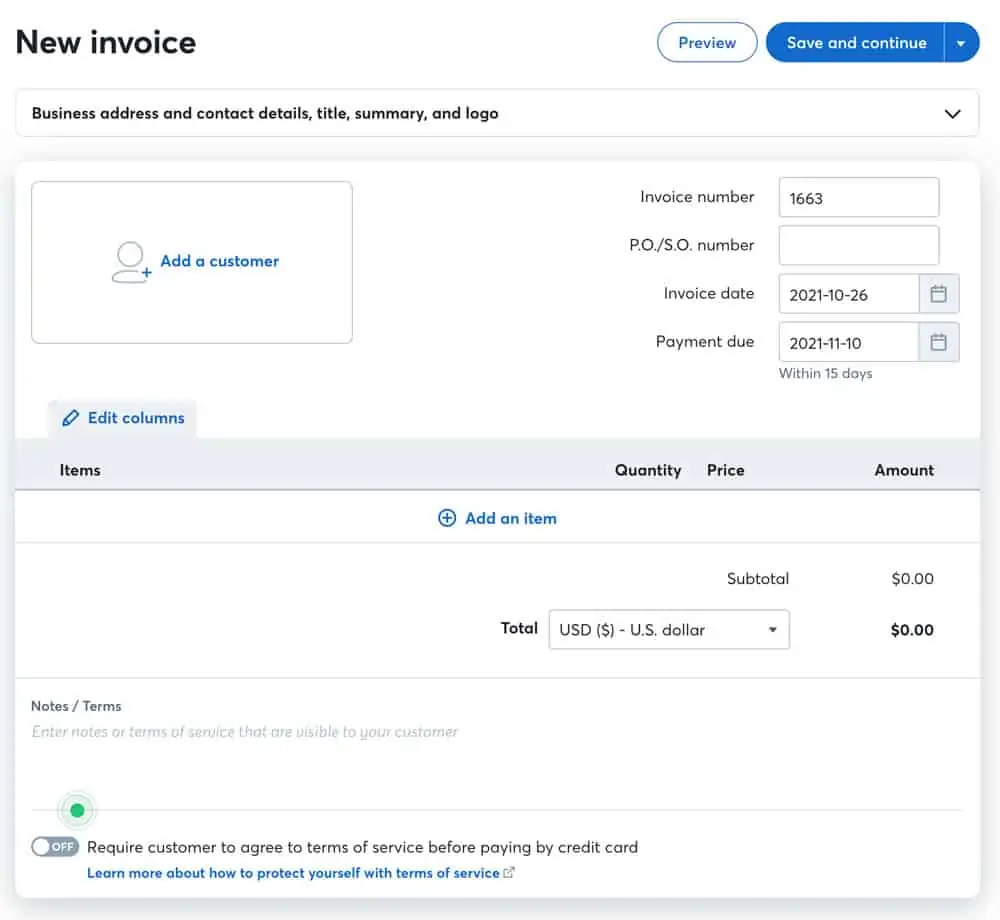
At this point you’re ready to go. You can create an estimate, then convert it to an invoice when accepted. Or send out that invoice for the project that was the impetus to get an accounting system set up in the first place.
If you created a product, you can click to add it to the estimate or invoice, meaning the 5 minutes of up-front work to set it up is going to save you a ton of time in the long run.
Choose to include a message when you email it, and pick how often you want the client to receive reminders to pay.
There’s a lot more I could cover on the day-to-day use of Wave, but because it’s so user-friendly, it’s going to be fairly straightforward to figure out.
Do you have specific questions?
Drop them in the comments and I might do a follow-up post. There’s also a chat bot inside Wave you can use to find links to help articles in the Wave Help Center.

