If you're in the market for a new (or redesigned) website, you've likely heard of WordPress, which powers 40% of the Internet these days.
It's important to note that there are actually two versions of WordPress. WordPress.com is a cloud platform that's the equivalent of Squarespace. It lacks the functionality of what we're discussing here, which is a self-hosted WordPress website. WordPress is open source software available to anyone, and self-hosted means you've installed this software on your own server. It's infinitely customizable, and this post will teach you how to manually set it up.
How to host your own WordPress website
This is the manual process to install WordPress on your own server, and will reference DirectAdmin. If it looks too technical, check out our DIY WordPress package for an instant setup process that skips all of this and jumps straight to the fun part - design and customization.
Time Needed: 60 minutes
Total Cost: USD 375
You'll Need:
Required Tools:
Register domain, point at hosting, install WordPress
It's important to choose the right website host (it's not GoDaddy). How you install WordPress will actually change depending on the host; many of them offer install tools that reduce this process to clicking a few buttons. For this post, we're getting back to basics. If you have a basic web hosting account, this is the manual process for installing WordPress.
Once you choose and purchase a hosting plan, proceed to Step 2.
Note: many web hosts also offer domain name registration. You could register your domain name at the same time if you prefer.
Domain names are purchased through a registrar, which is like a name dealership. We recommend Namecheap.
Search to make sure your desired domain is available, and don't be afraid to consider alternate extensions like .co, .io, .art.
Purchase your desired domain name (make sure auto-renew is set to on). Most registrars will offer add-ons, but the only one you need is privacy, which is generally included by default.
Once your domain name has been purchased, navigate to the DNS settings. You'll need the nameservers of your web host. Copy/paste those into the domain's DNS settings. Update time can take up to 24 hours but is usually much quicker.
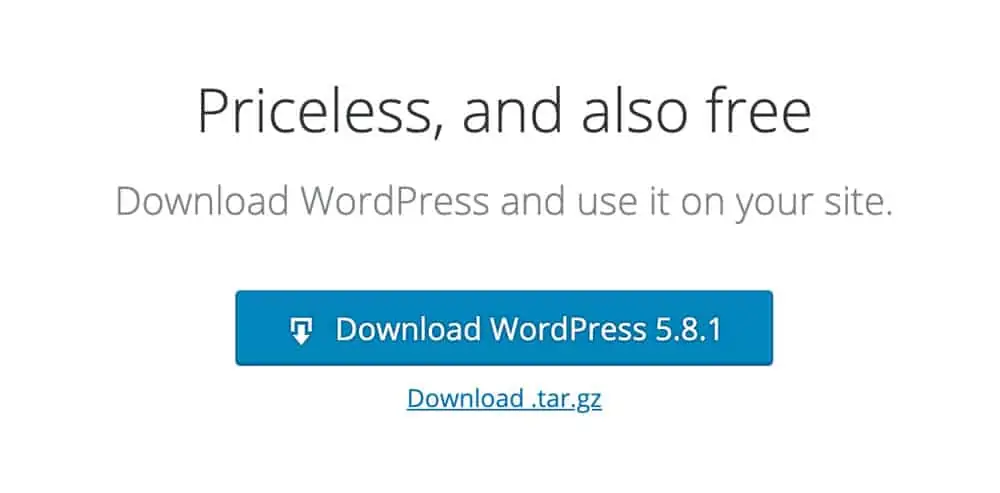
Open WordPress.org and click the blue button to download the most recent version of WordPress. Save it to your desktop.

Log into your website hosting account. Different hosts offer different ways to manage the backend, so it might be a proprietary software, or something like cPanel or DirectAdmin. All screenshots in this tutorial will reference DirectAdmin.
Look for MySQL Management. Click the button to 'Create New Database.' You can name this anything you like.

Write down the database name and user. You'll need those in Step 8.
Log into your website hosting account. Different hosts offer different ways to manage the backend, so it might be a proprietary software, or something like cPanel or DirectAdmin. You're looking for file access. You can also use FTP software for this step.
Once you find the server files, navigate to the public_html folder. Upload the zipped WordPress package you downloaded in Step 4.
Extract the zipped file you just uploaded to the server. Move the files out of the folder and into public_html.
Navigate to yourdomain.com/wp-admin/install.php. If everything was done correctly, you should see the installer walkthrough screen. Follow the prompts.
